在 Windows 系统下搞开发,无疑是比较痛苦的。但是随着 Windows 10 Linux 子系统 WSL2 的发布,对于开发人员来说,这种局面将有所改变,并朝着利好的方向发展。
一. 什么是 WSL 2
我们先来了解一些什么是 WSL?
WSL 是 Microsoft 团队对某几个 Linux 发行版进行深度改造后的产物,他在 Windows 环境下模拟出了一套 Linux 环境,让你看起来仿佛置身于 Linux 环境下,事实上运行的仍然是 Windows 程序。
WSL2 则与此完全不同,Win10 开始内置了一个轻量级虚拟机,经过不断的优化,这个虚拟机实现了与 Windows 的高度集成,实现了虚拟机的高性能运行,WSL2 便是运行在虚拟机上的一个完整的 Linux 内核。
由此可见,WSL2 与 WSL 的设计理念有着天翻地覆的变化,WSL 的实现方式显然更为极客,但面临一系列的生态环境和性能的问题,这条路要想走通,简直比登天还难。如今,微软放弃这条路,转而走上虚拟机优化运行原生 Linux 内核这条路确实是一条一劳永逸的正路。
二. 安装 WSL 2
整个安装过程分为以下几步,大家按照步骤仔细操作。
2.1 启用「适用于 Linux 的 Windows 子系统」
首先必须启用「适用于 Linux 的 Windows 子系统」可选功能,然后才能在 Windows 上安装 Linux 分发版。
以管理员身份打开 PowerShell 并运行:
dism.exe /online /enable-feature /featurename:Microsoft-Windows-Subsystem-Linux /all /norestart若要仅安装 WSL1,现在应重启计算机并继续安装所选的 Linux 分发版,否则请等待重启并继续更新到 WSL2。
2.2 启用「虚拟机平台」可选组件
安装 WSL2 之前,还必须启用「虚拟机平台」可选功能。
以管理员身份打开 PowerShell 并运行:
dism.exe /online /enable-feature /featurename:VirtualMachinePlatform /all /norestart重新启动计算机,以完成 WSL 安装并更新到 WSL 2。
2.3 更新 WSL 2 Linux 内核
下载适用于 x64 计算机的最新 WSL2 Linux 内核更新包,下载地址。
安装 Linux 内核更新包。
2.4 将 WSL 2 设置为默认版本
安装新的 Linux 分发版时,请在 Powershell 中运行以下命令,以将 WSL 2 设置为默认版本:
wsl --set-default-version 22.5 安装 Ubuntu 20.04 LTS 分发版
打开 Ubuntu 20.04 LTS 分发版的 Microsoft Store 页面。
在分发版的页面中,选择「安装」。
2.6 设置新分发版
首次启动新安装的 Linux 分发版时,将打开一个控制台窗口,系统会要求你等待一分钟或两分钟,以便文件解压缩并存储到电脑上。 未来的所有启动时间应不到一秒。
然后,需要为新的 Linux 分发版创建用户帐户和密码。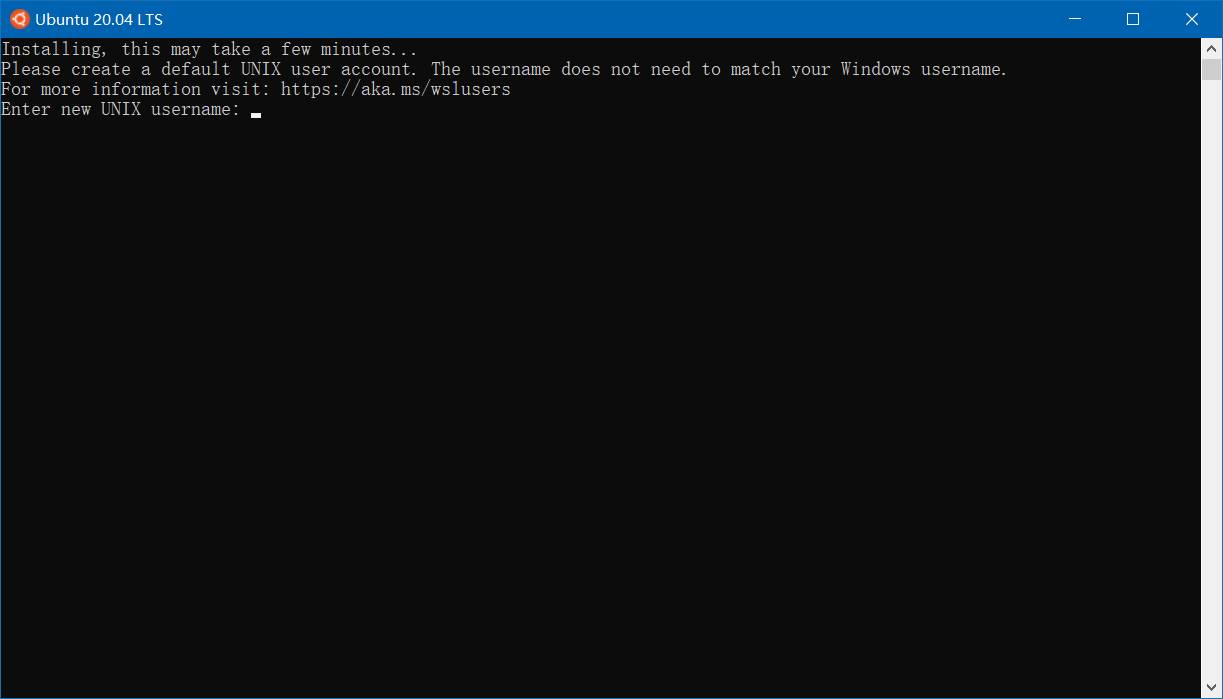
初始化完成后,可以打开 PowerShell 命令行并输入:wsl -l -v 命令,来检查分配给每个已安装的 Linux 分发版的 WSL 版本。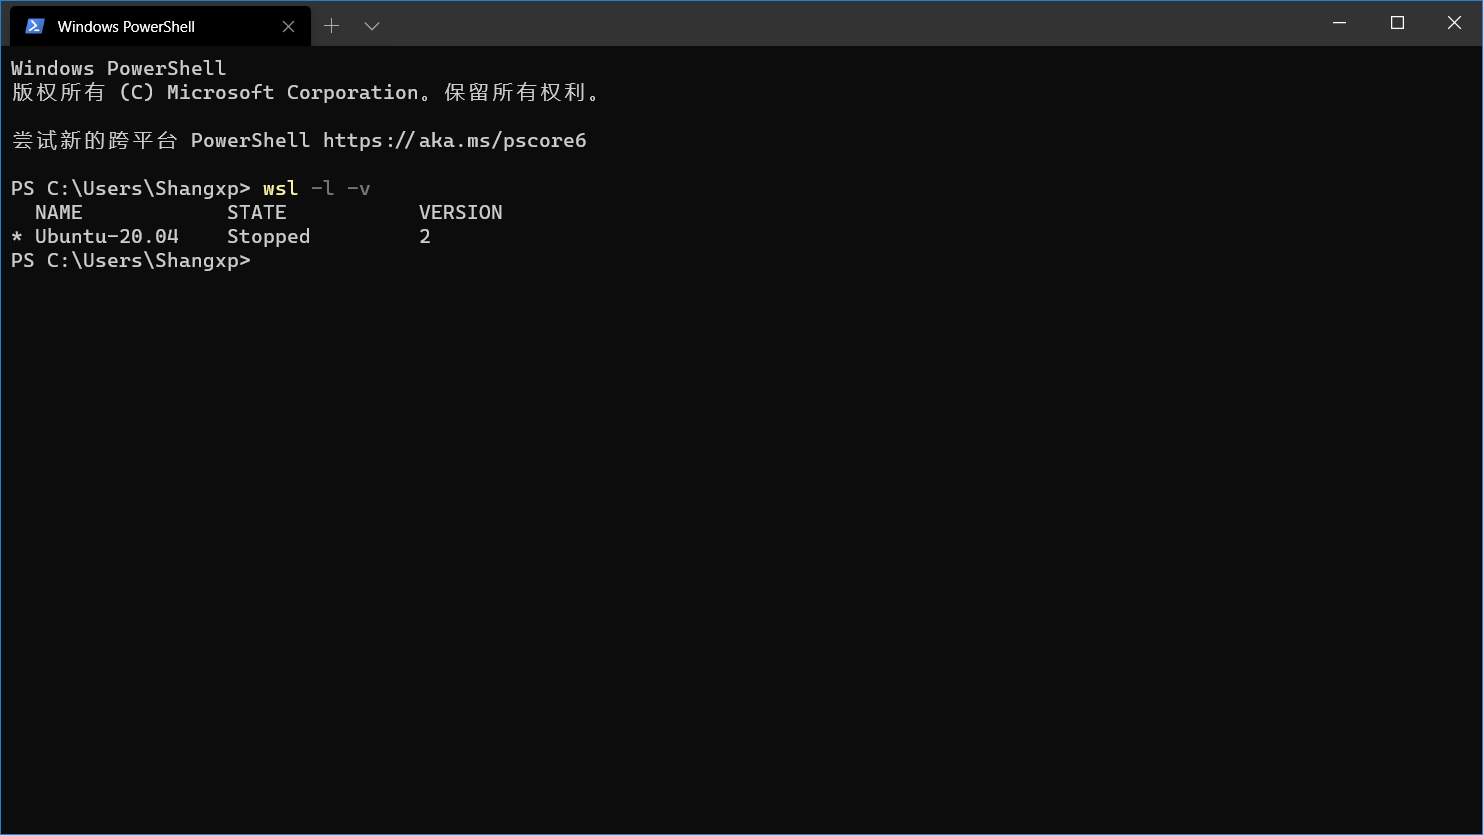
至此,我们已经完成了 WSL2 的安装,看一下 Windows Terminal 中打开后的效果。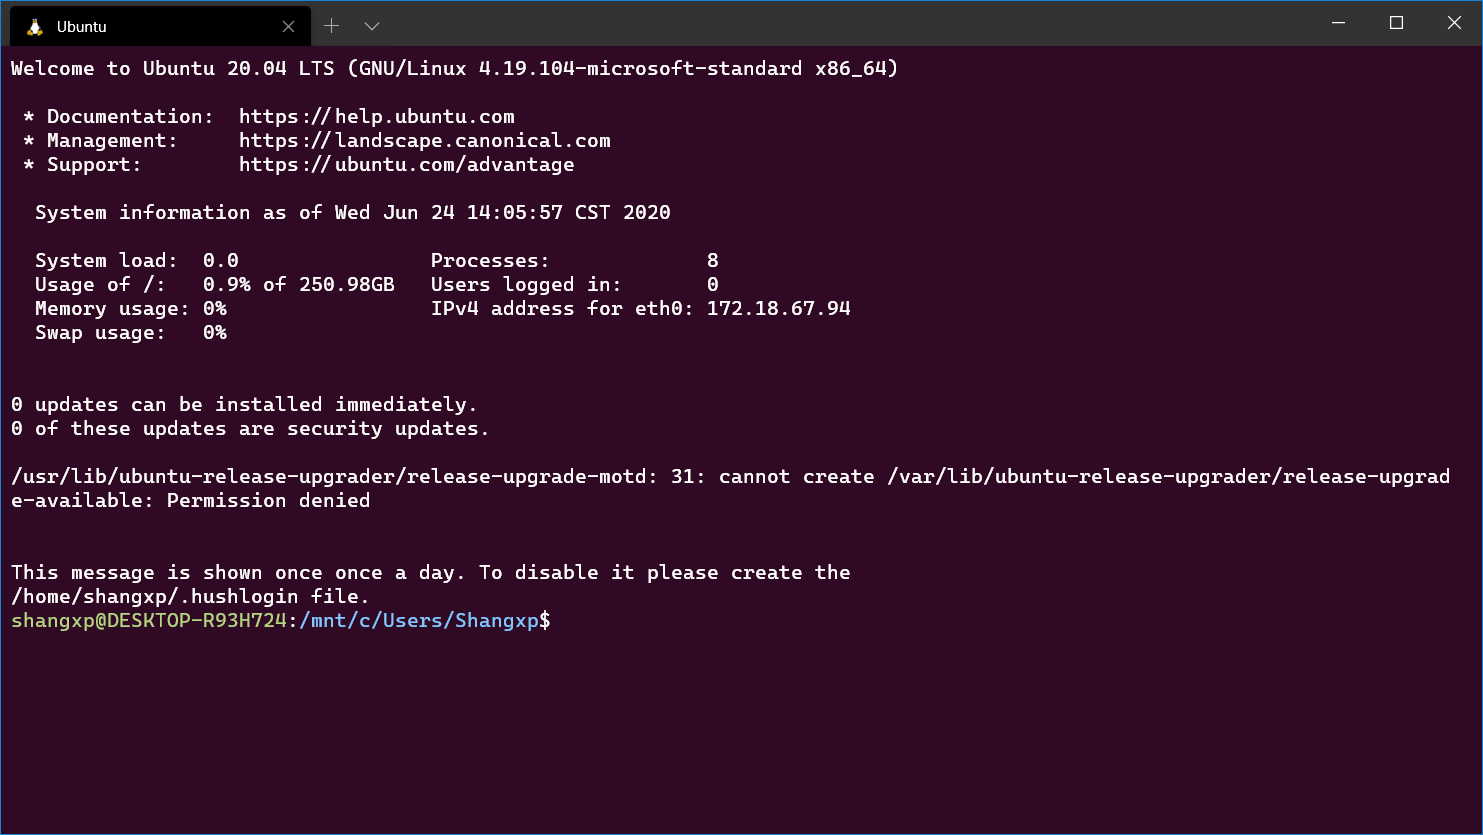
三. 下载并安装 MongoDB
这里我们以 MongoDB 4.0.18 版本为例,因为 4.0.18 版本以后 MongoDB 官网不再提供 Linux(legacy) 安装包,而是针对不同 Linux 发行版提供专有的二进制安装包。
3.1 获取 MongoDB 安装包
打开 MongoDB Download Center 页面,依次选择:Version:4.0.18,Platform:Linux(legacy),Package:tgz,最后点击 Download 按钮下载即可。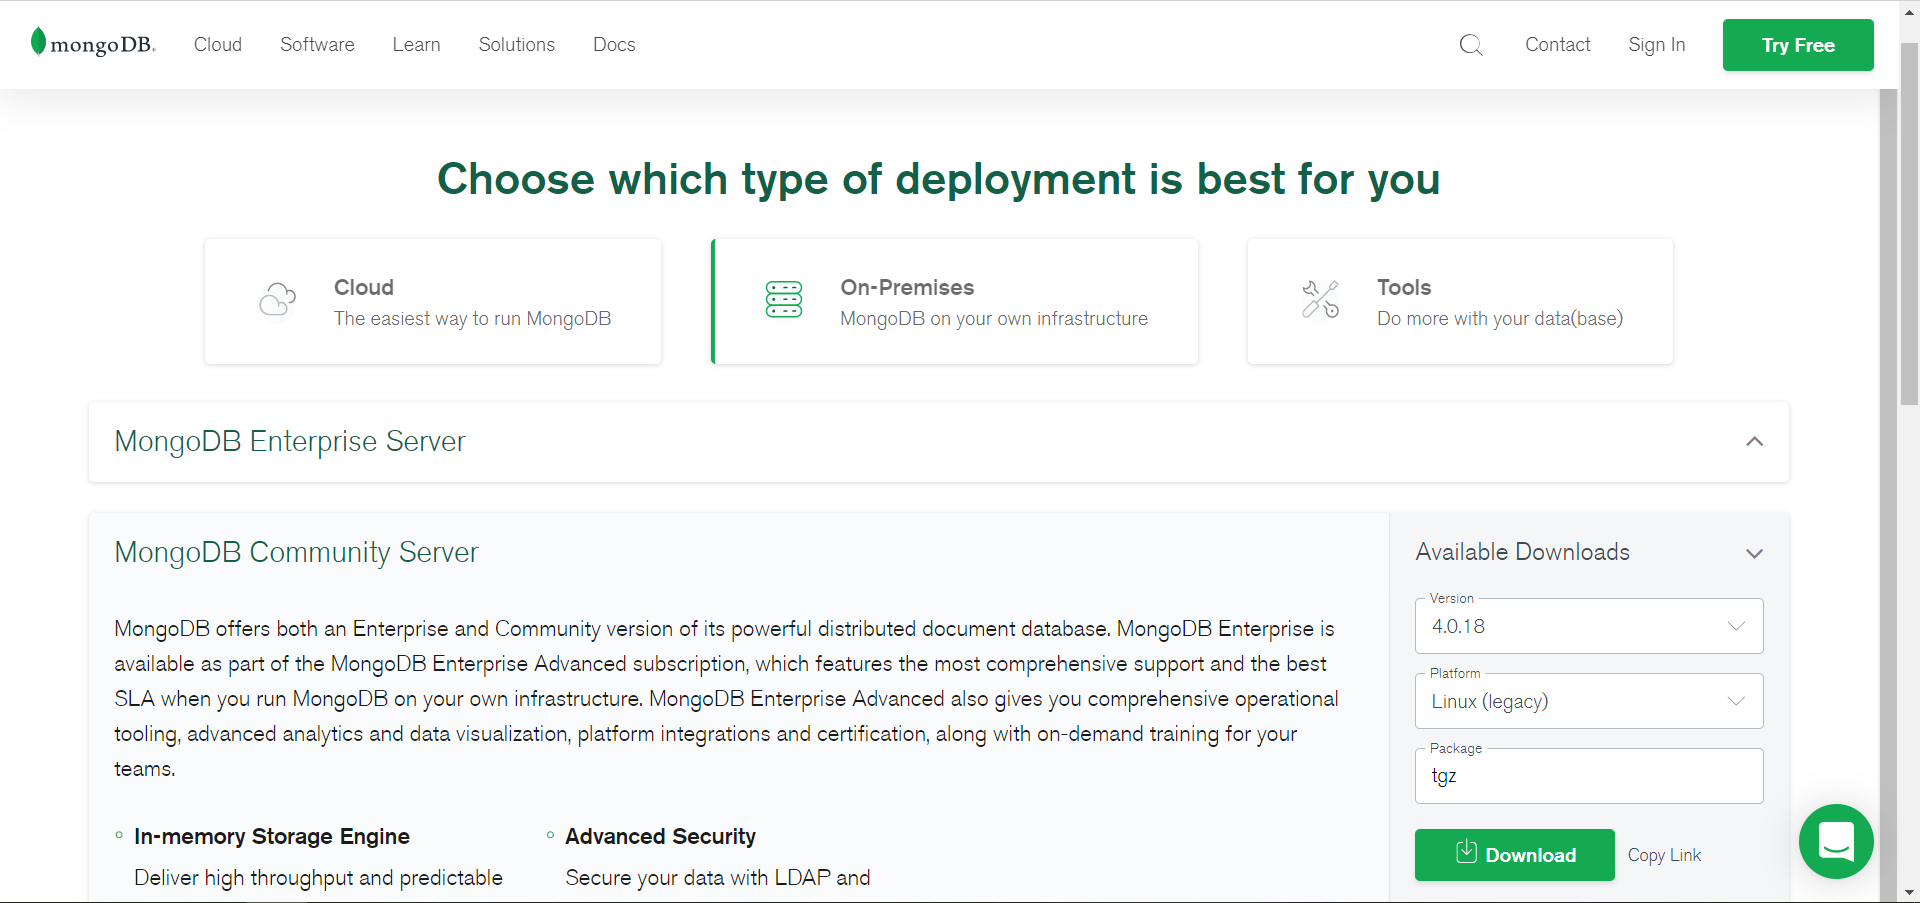
或者进入 WSL2 中的 Linux 系统通过 wget 命令获取:
wget https://fastdl.mongodb.org/linux/mongodb-linux-x86_64-4.0.18.tgz3.2 安装 MongoDB
这里我将 MongoDB 安装在 /opt/mongodb 路径下,大家可以根据自己的实际情况修改安装路径。
- 解压
mongodb-linux-x86_64-4.0.18.gz文件。
sudo tar -zxvf mongodb-linux-x86_64-4.0.18.gz
sudo mv /opt/mongodb-linux-x86_64-4.0.18 /opt/mongodb- 进入 MongoDB 安装目录
/opt/mongodb,新建data、etc和log三个目录。

- 进入
/opt/mongodb/etc目录,创建 MongoDB 配置文件mongod.conf。这里需要注意的是 MongoDB 配置文件使用YAML格式。
# mongod.conf

# for documentation of all options, see:
#   http://docs.mongodb.org/manual/reference/configuration-options/

storage:
  dbPath: /opt/mongodb/data
  journal:
    enabled: true
  directoryPerDB: true

systemLog:
  destination: file
  logAppend: true
  path: /opt/mongodb/log/mongod.log

net:
  port: 27017
  bindIp: 127.0.0.1

processManagement:
  fork: true
  timeZoneInfo: /usr/share/zoneinfo

security:
  authorization: disabled
DEFAULT CONFIGURATION FILE:
- On Linux, a default
/etc/mongod.confconfiguration file is included when using a package manager to install MongoDB.- On Windows, a default
<install directory>/bin/mongod.cfgconfiguration file is included during the installation.- On macOS, a default
/usr/local/etc/mongod.confconfiguration file is included when installing from MongoDB’s official Homebrew tap.
有关 MongoDB 配置文件选项,请参见 Configuration File Options。
- 使用
--config或着-f选项指定配置文件启动 MongoDB,以下两种方式任选一个即可。
mongod --config /opt/mongodb/etc/mongod.conf

mongod -f /opt/mongodb/etc/mongod.conf
如果提示找不到
mongod命令,有两种解决办法:
- 在
.bashrc或/etc/profile文件中添加 MongoDB 环境变量。- 进入 MongoDB 安装目录,将
bin目录下的所有文件复制到/usr/local/bin目录。
上面的命令运行后,我们将在 Terminal 中看到以下提示信息,说明 MongoDB 启动成功。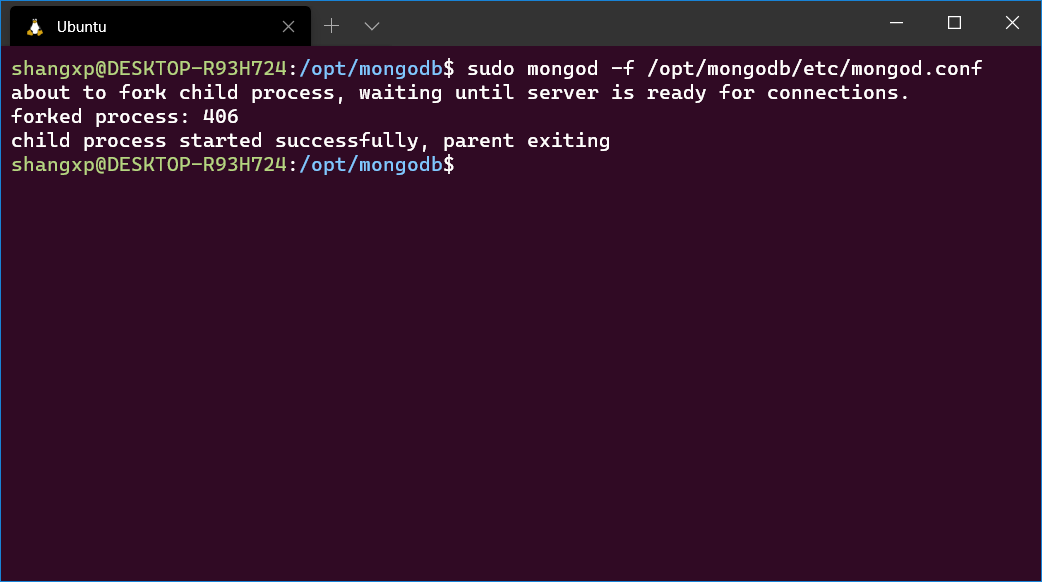
最后,我们打开 Navicat 或 Robo 3T 客户端工具连接 WSL2 中的 MongoDB,测试连接是否成功。